Overview
Web2Publish guides users through a Wizard to create a publication. A Wizard is an ordered set of steps. When designing Web2Publish we had composability of these steps in mind. To cover as many use cases as possible and react to any customer requirement, we designed our wizard steps to be mixed and matched.
Web2Publish is a separate application from the rest of priint:suite. Web2Publish is built to remain compatible with existing applications like priint:planner, however the focus is on designing a wizard flow that is unique to the requirements of the project.
A core concept is that any project-specific requirement can be solved using our powerful priint:bpm workflow engine. The Publication follows multiple wizard steps along the creation process. Through each step the publication gets enriched: data selections are made, and images or editorial content are uploaded. Product selections are made or uploaded. Usually right at the end, all of those choices result in a final rendering. The Web2Publish integrates with our Rendering Services to produce a publishing artefact you can use directly.
Starting a new Web2Publish Project
The Web2Publish relies on many concepts that are part of our priint:suite, so it is recommended that you are familiar especially with the priint:bpm and Custom BPMN processes to model the lifecycle of the publication. Two more core concepts are Publication Types and Publications.
How are Publication Types used?
Publication Types define the metadata and serve as the primary grouping criteria for publications. You can create dedicated Publication Types for Catalog, Leaflet or simple Flyer.
Find out more about the configuration here: Publication Types
What is a template publication?
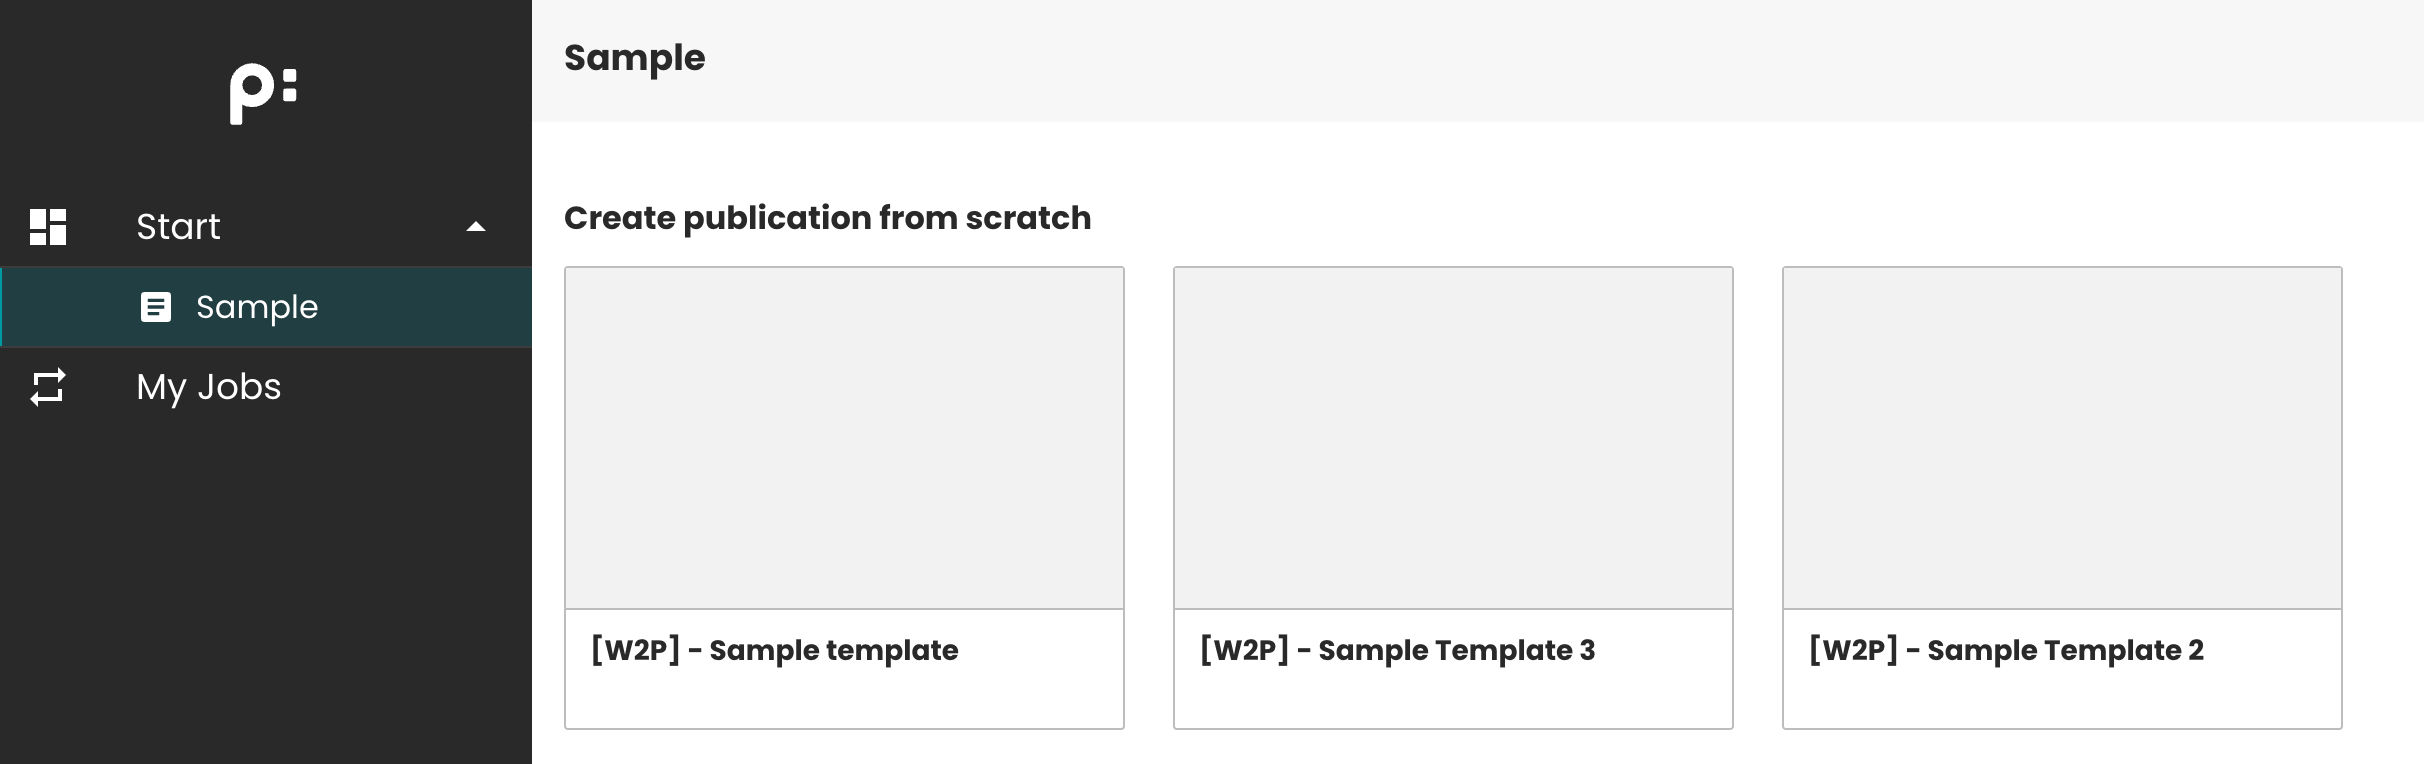
After selecting the Publication Type you want to create your next step is to choose a template publication.
Templates? Publications? If you worked with the priint:suite before, these terms are already familiar. The Web2Publish uses the term slightly differently, as it refers to an already created publication that will serve as a starting point for every single publication created by the application.
There are a few reasons we made the decision to let the template publication be the starting point:
User Rights. Any user rights can be directly used and evaluated by the Web2Publish, so it's very easy to assign certain template publications targeted to specific Teams or Groups without other users seeing these publications in their workspace.
Templates. For Product Templates, assigning them to Publications allows you to evaluate the allowed templates dynamically in your buildup scripts. By assigning the templates, the planning step can also evaluate page templates and product templates, and let the user customize the planning. Find out more here.
Documents and Document Metadata. The absolute minimum amount of Documents your template publication should have is one document. However more are definitely possible. Having a template publication that already has more than a single document can be very useful. Let's say your publication is a leaflet that always has a few editorial pages in the beginning that the User of the Web2Publish shouldn't edit or adjust. The final Rendering will combine the product selection that the user has made with dynamic template selection and static editorial content. All the powerful tooling you are already familiar with from priint:planner and priint:comet remain in your hands.
If you're planning to use editorial content in combination with a product assignment step also check out how to filter documents so that only the expected documents are showing in the corresponding wizard step. Often times, each wizard step has a specific purpose, so you only want to limit which documents the user can view in the context of that specific wizard step.
Read more in this article: Document Filter
Preparation for Customized Documents. Our customize documents wizard step expects that you setup planning. The planning allows the User to select the images from the Source Content Bucket. Additionally we can fill out Planning content metadata that was created with default values.
Using template and creating the planning by script will work, but in some cases you don't want to implement it as a template. Maybe you got a Design File as InDesign File and only want to replace certain sections. You can upload this editorial content to your publication template and assign the placeholders directly in the design using priint:comet, while linking it to the planning entry.
Check Customize Documents Step for more information.
How does working in the publication work?
The Web2Publish follows a Wizard from beginning to end. Each Publication Type maps to one or more Wizards, and each Wizard has a unique ID. The Wizard uses Metadata of the publication to track progress or update the status. Note that we don't prescribe the naming of the Publication Metadata, you have to configure your final chosen names.
The first step of any publication process started by Web2Publish is the duplication of a designated template publication.
When the users start the wizard by clicking on a template publication, they can only view and interact with the first configured step. After clicking the Save & Next button on this step, Web2Publish duplicates the template publication. From that point on, all changes are saved to the newly created publication, while the original template remains unchanged.
Based on your configured Metadata (<isTemplateMetadata>) we determine which publications qualify as a template for duplication and as a starting point for your final publication.
You can customize the duplication process, but for most cases we recommend sticking to the priint:suite default.
The predefined documents already in the template are duplicated together with the publication. Users do not work on all of them in every step. A content-selection checkbox metadata marks which documents belong to a step, and the Document Filter reads this metadata to show or hide them.
The Status <statusMetadata> tracks the current progress in the wizard steps and will be updated after a step completes.
After the Web2Publish finishes rendering, by default the publication is moved into the finished state (<isCompletedMetadata>).
Find out more about the Wizard Steps and how Metadata can be configured.
XML Configuration
For most of our applications developers are already familiar with XML to configure how applications should be handled. This is also true for the Web2Publish. Our XML Configuration aims to be easy to configure for your use-cases. Take a look at the sample configuration to get a good overview over all possible configurations and deep dive into the reference to learn more about the individual configuration elements.
Process Handling in Wizard Steps
Our priint:bpm allows you to model your exact business workflows. At any step of the wizard, these processes can help you achieve what your project needs. There's two main ways to start processes inside of our application. For Download Processes that include rendering the whole publication and import processes we recommend using the Process Step.
Let the users enrich the publication process with User Tasks. All Process interfaces in the Web2Publish detect running process instances of the configured process. This means that the execution context of the process is the publication and not the user. All users working on the same publication see the same status. Inside your processes you can assign work to specific users or teams, so only certain team members can progress the step.
Sometimes we found that our users wanted to execute processes on top of other wizard steps, for example to enrich the available data for selection of the underlying wizard step dynamically. For this reason we have added the Global Button, as a way to let users execute processes related to the specific wizard step. We recommend to use it sparingly, to not distract the users from following the simple wizard steps sequentially. Global Buttons
Handling Translations
We support configurable translations for the UI elements for example for Wizard Steps and Descriptions.
Please note that due to limitations of the priint:bpm, while Dynamic Forms and User Tasks can be translated, the individual Steps and Tasks can't be translated.
Check Translations for more information.
Opening the Web2Publish
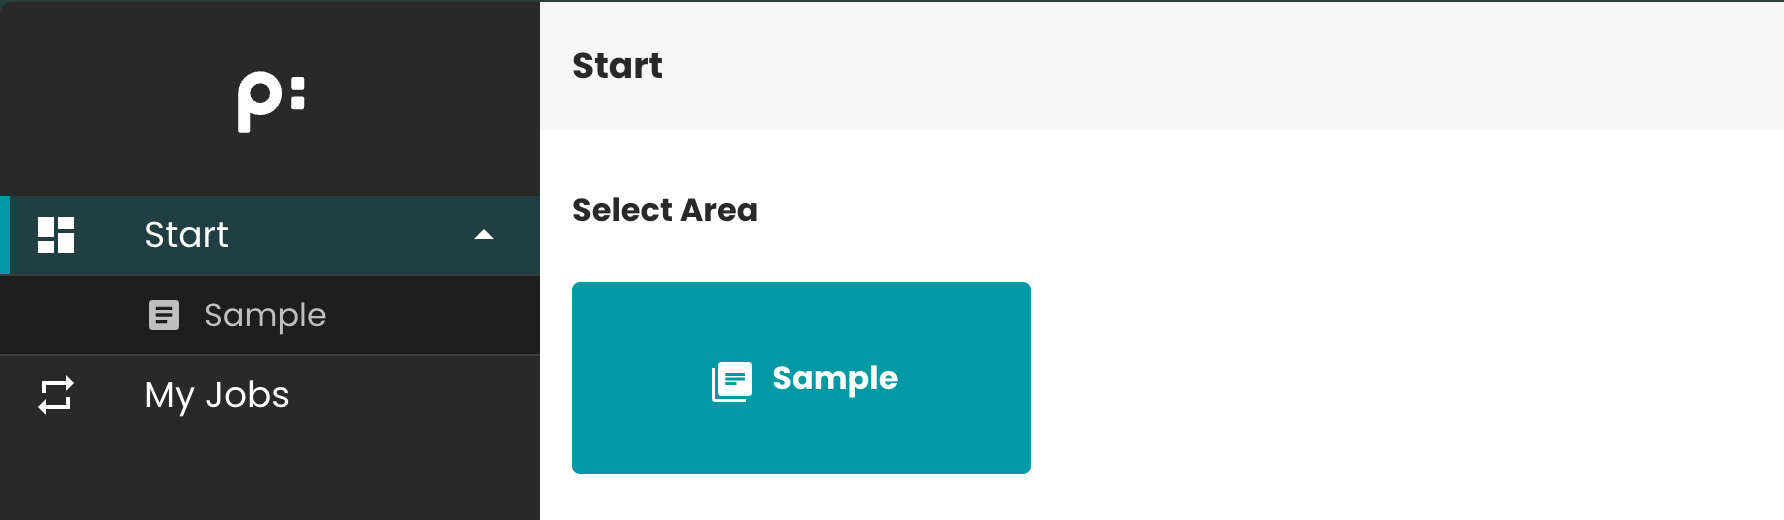
The Start page is where users begin. Two features live here. News shows dynamic updates and can display different items per language. My Job tracks the publication processes the user has started, for example import, render or planning creation, so they can follow their status.
See News and My Job for the configuration.
Overview over the Wizard Steps
Learn more about the individual Wizard steps in the dedicated sections:
-
Use the Basic Form Step as the starting point. It shows a dynamic form to enter or update the publication metadata, and it duplicates the template publication when the starting point is a template.
-
Use the Process Step to run a backend process, for example to import data, render the publication, or export documents. It shows progress and can provide the result as a download.
-
Create a list filled by your dataprovider to display a lot of dense information in table form, with support for external links to the datasource or assortment tools.
-
Show the planning of your documents and adjust templates.
-
Customize your editorial documents by selecting images and changing planning content metadata.
-
Assign products to your document(s), configure advanced search functionality to direct the user to choose the right products.